Sciometa POS · How-to guide
Category Presets
Create a named group of menu categories so a kitchen, server or order status display shows only the orders it needs to see.
Tätä ohjetta ei ole vielä saatavilla omalla kielelläsi, joten näytämme englanninkielisen version.
Open Display Settings
In the dashboard, go to SettingsDevices.
Display Settings is on that page, below the device list.
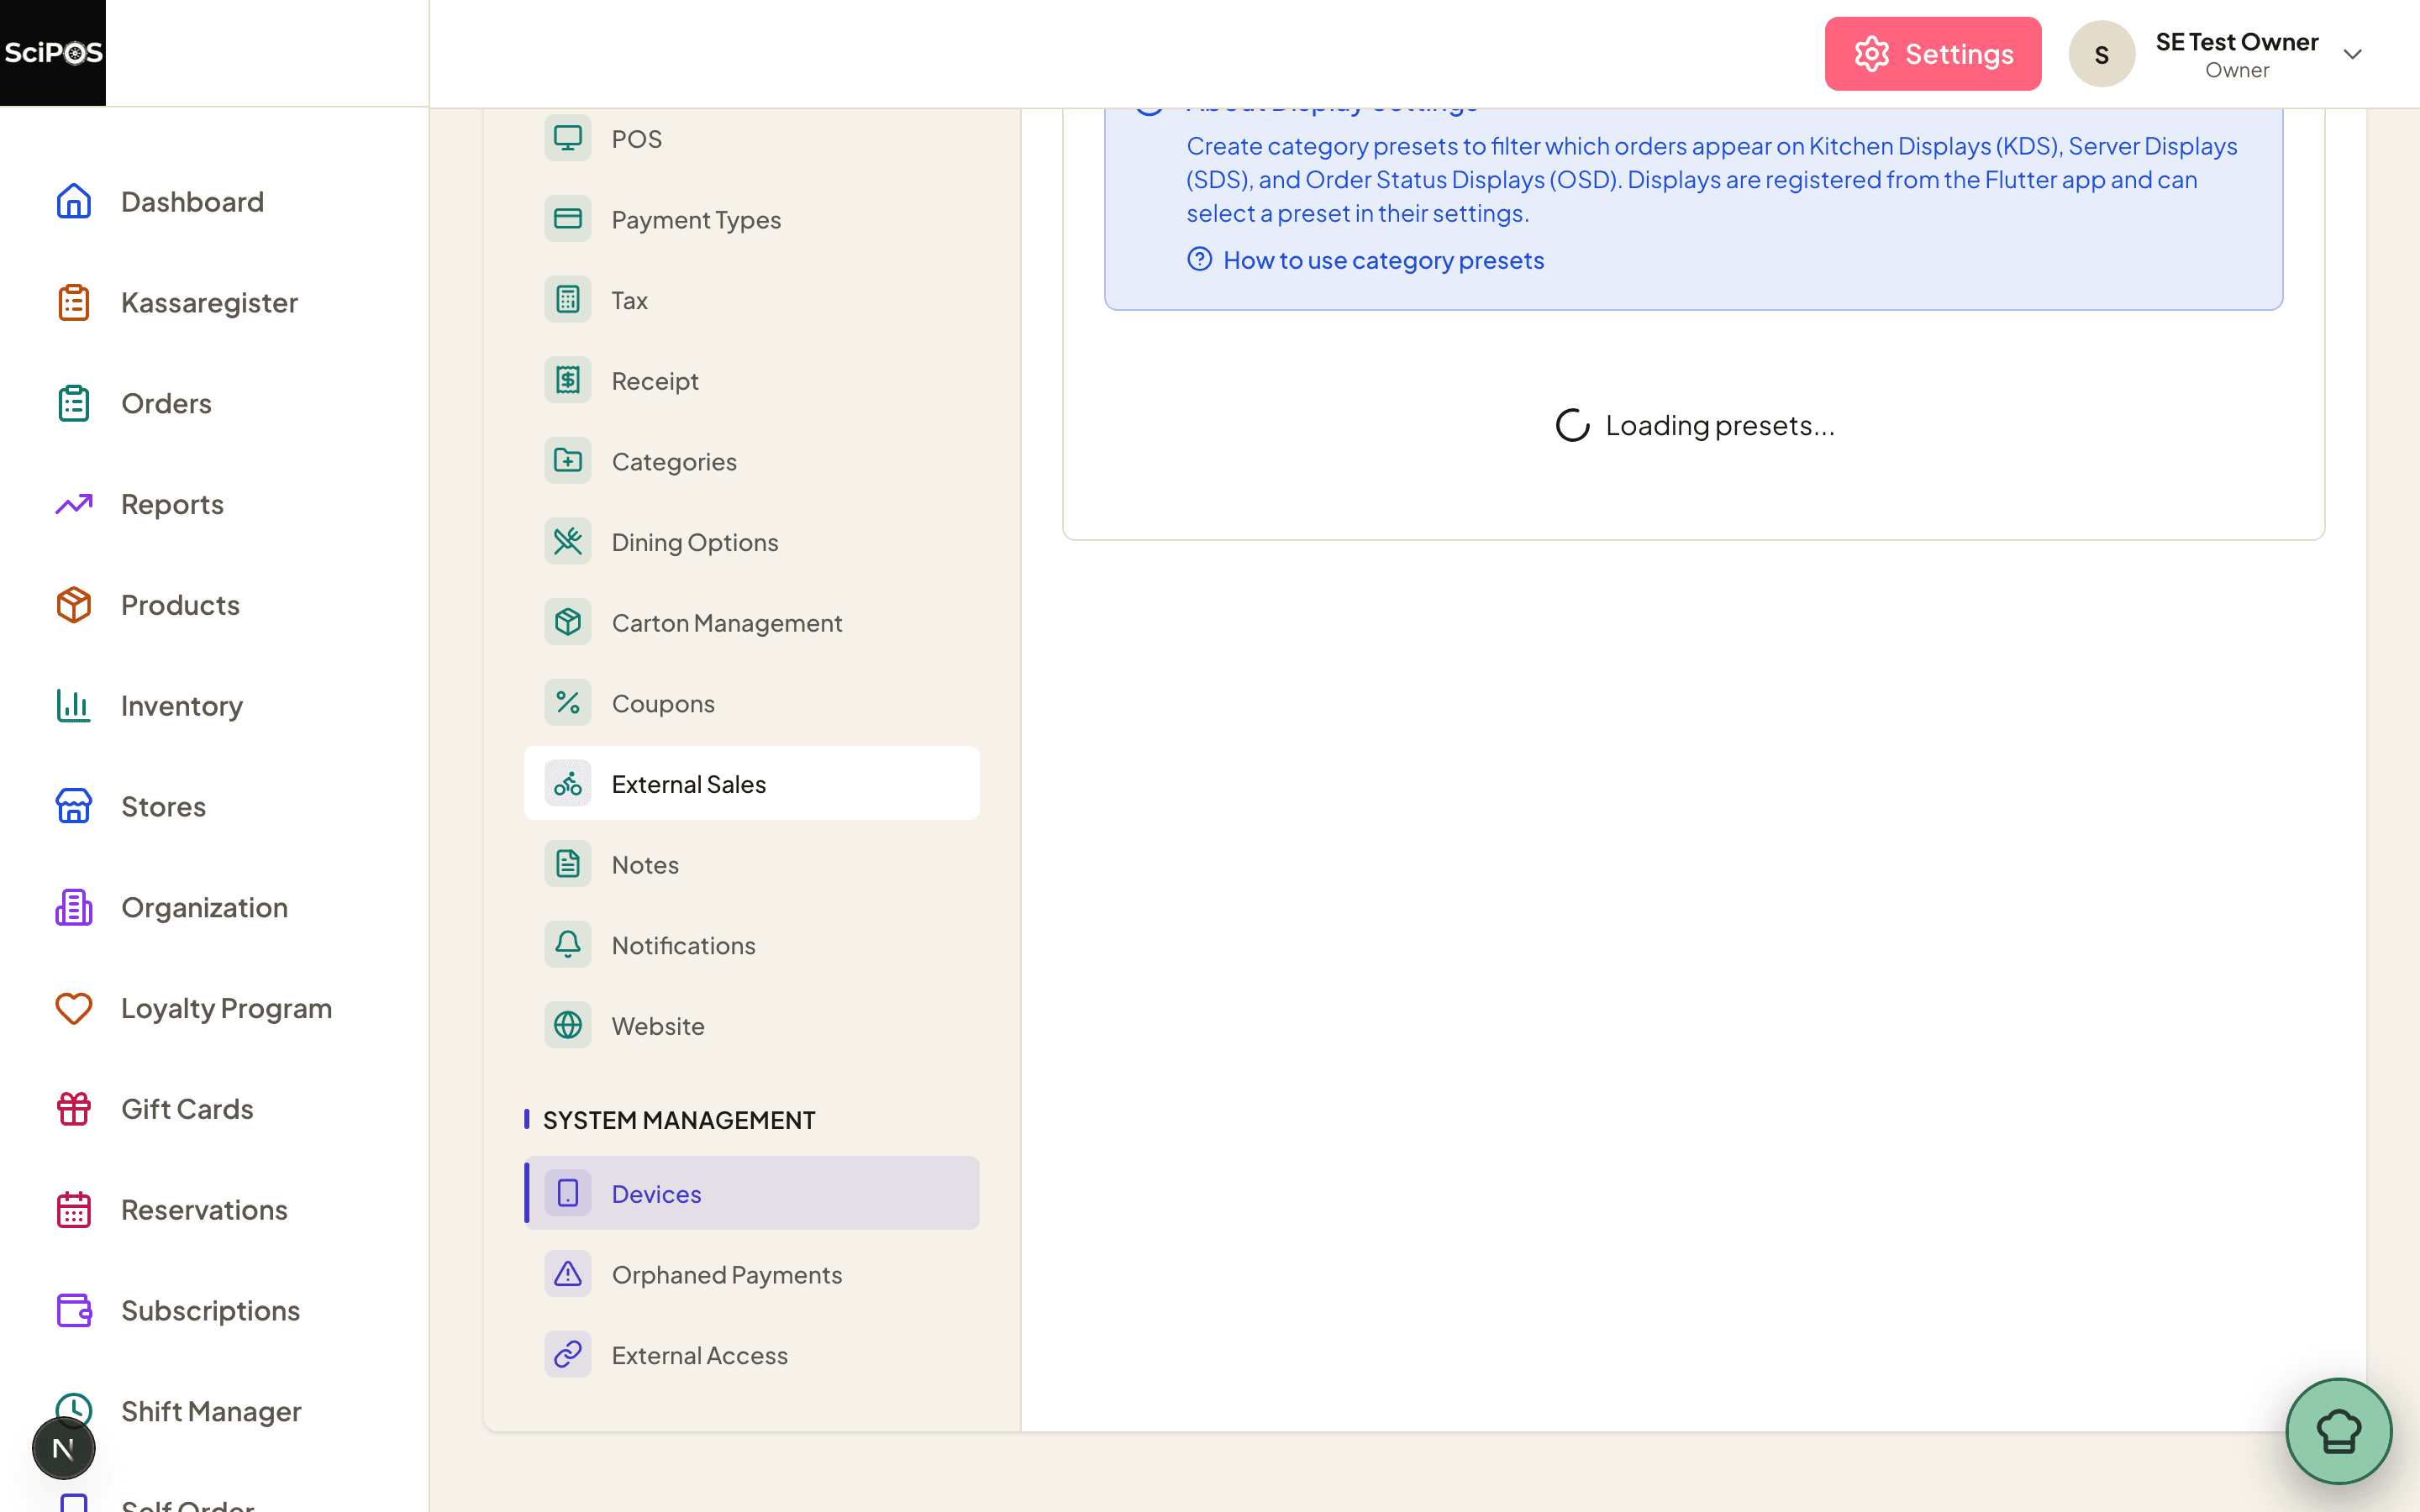
Check the store selector before you begin if you run more than one restaurant — a preset can be shared across all stores or belong to one.
Create the preset
Select New Preset and fill in the form.
| Field | What to enter |
|---|---|
| Name | What the preset is for, as staff would say it — Kitchen Categories, Drinks Only. This is the name that appears in the list on the display, so make it unambiguous. |
| Categories | Tick every category this display should show. Anything left unticked is hidden from it. |
| Automatically include new categories | On, a category you add later joins this preset by itself. Useful for a general kitchen display; wrong for Drinks Only, which should stay narrow. |
| Store | Leave as shared, or pick one restaurant. |
Select save when you are done. The preset now exists, but no display is using it yet — that is step 3.
Select the preset on the display
This half happens in the Sciometa POS app on the display device itself, not in the dashboard.
- On the display device, open the app's settings.
- Find the display's own settings (Kitchen Display, Server Display or Order Status Display, depending on the device).
- Choose your preset from the list of presets.
The screen begins filtering immediately. Nothing needs restarting, and nothing needs to be done in the dashboard again.
What the badges mean
Each preset in the dashboard list carries badges that explain how it behaves:
- Default — new displays use this preset until someone chooses another. Set it with the star icon.
- Auto — Automatically include new categories is switched on for this preset, so categories added to your menu later will appear on these displays without anyone editing the preset.
- The toggle switches the preset active or inactive. An inactive preset stays in the list but is not offered to displays.
- All Categories is the built-in preset: every category, nothing filtered. A display using it behaves as it did before presets existed.
Still not working?
| What you see | Most likely cause |
|---|---|
| The preset exists but the display shows everything | The display has not selected it yet (Step 3). Creating a preset does not assign it. |
| The preset is missing from the list on the device | It is set to inactive, or it belongs to a different store than the device. |
| A new menu category is not appearing on a display | That preset has Auto switched off. Edit the preset and tick the new category, or switch on "Automatically include new categories". |
| Orders appear on the wrong screen | An order shows wherever any of its items match. Check whether the item belongs to a category you ticked on both presets. |