Sciometa POS · How-to guide
Setting Up Extras
Create extras such as halloumi or goat cheese, attach them to your dishes, and make sure they appear as individual buttons on the till.
Den här guiden finns ännu inte på ditt språk, därför visas den engelska versionen.
Open Products Management
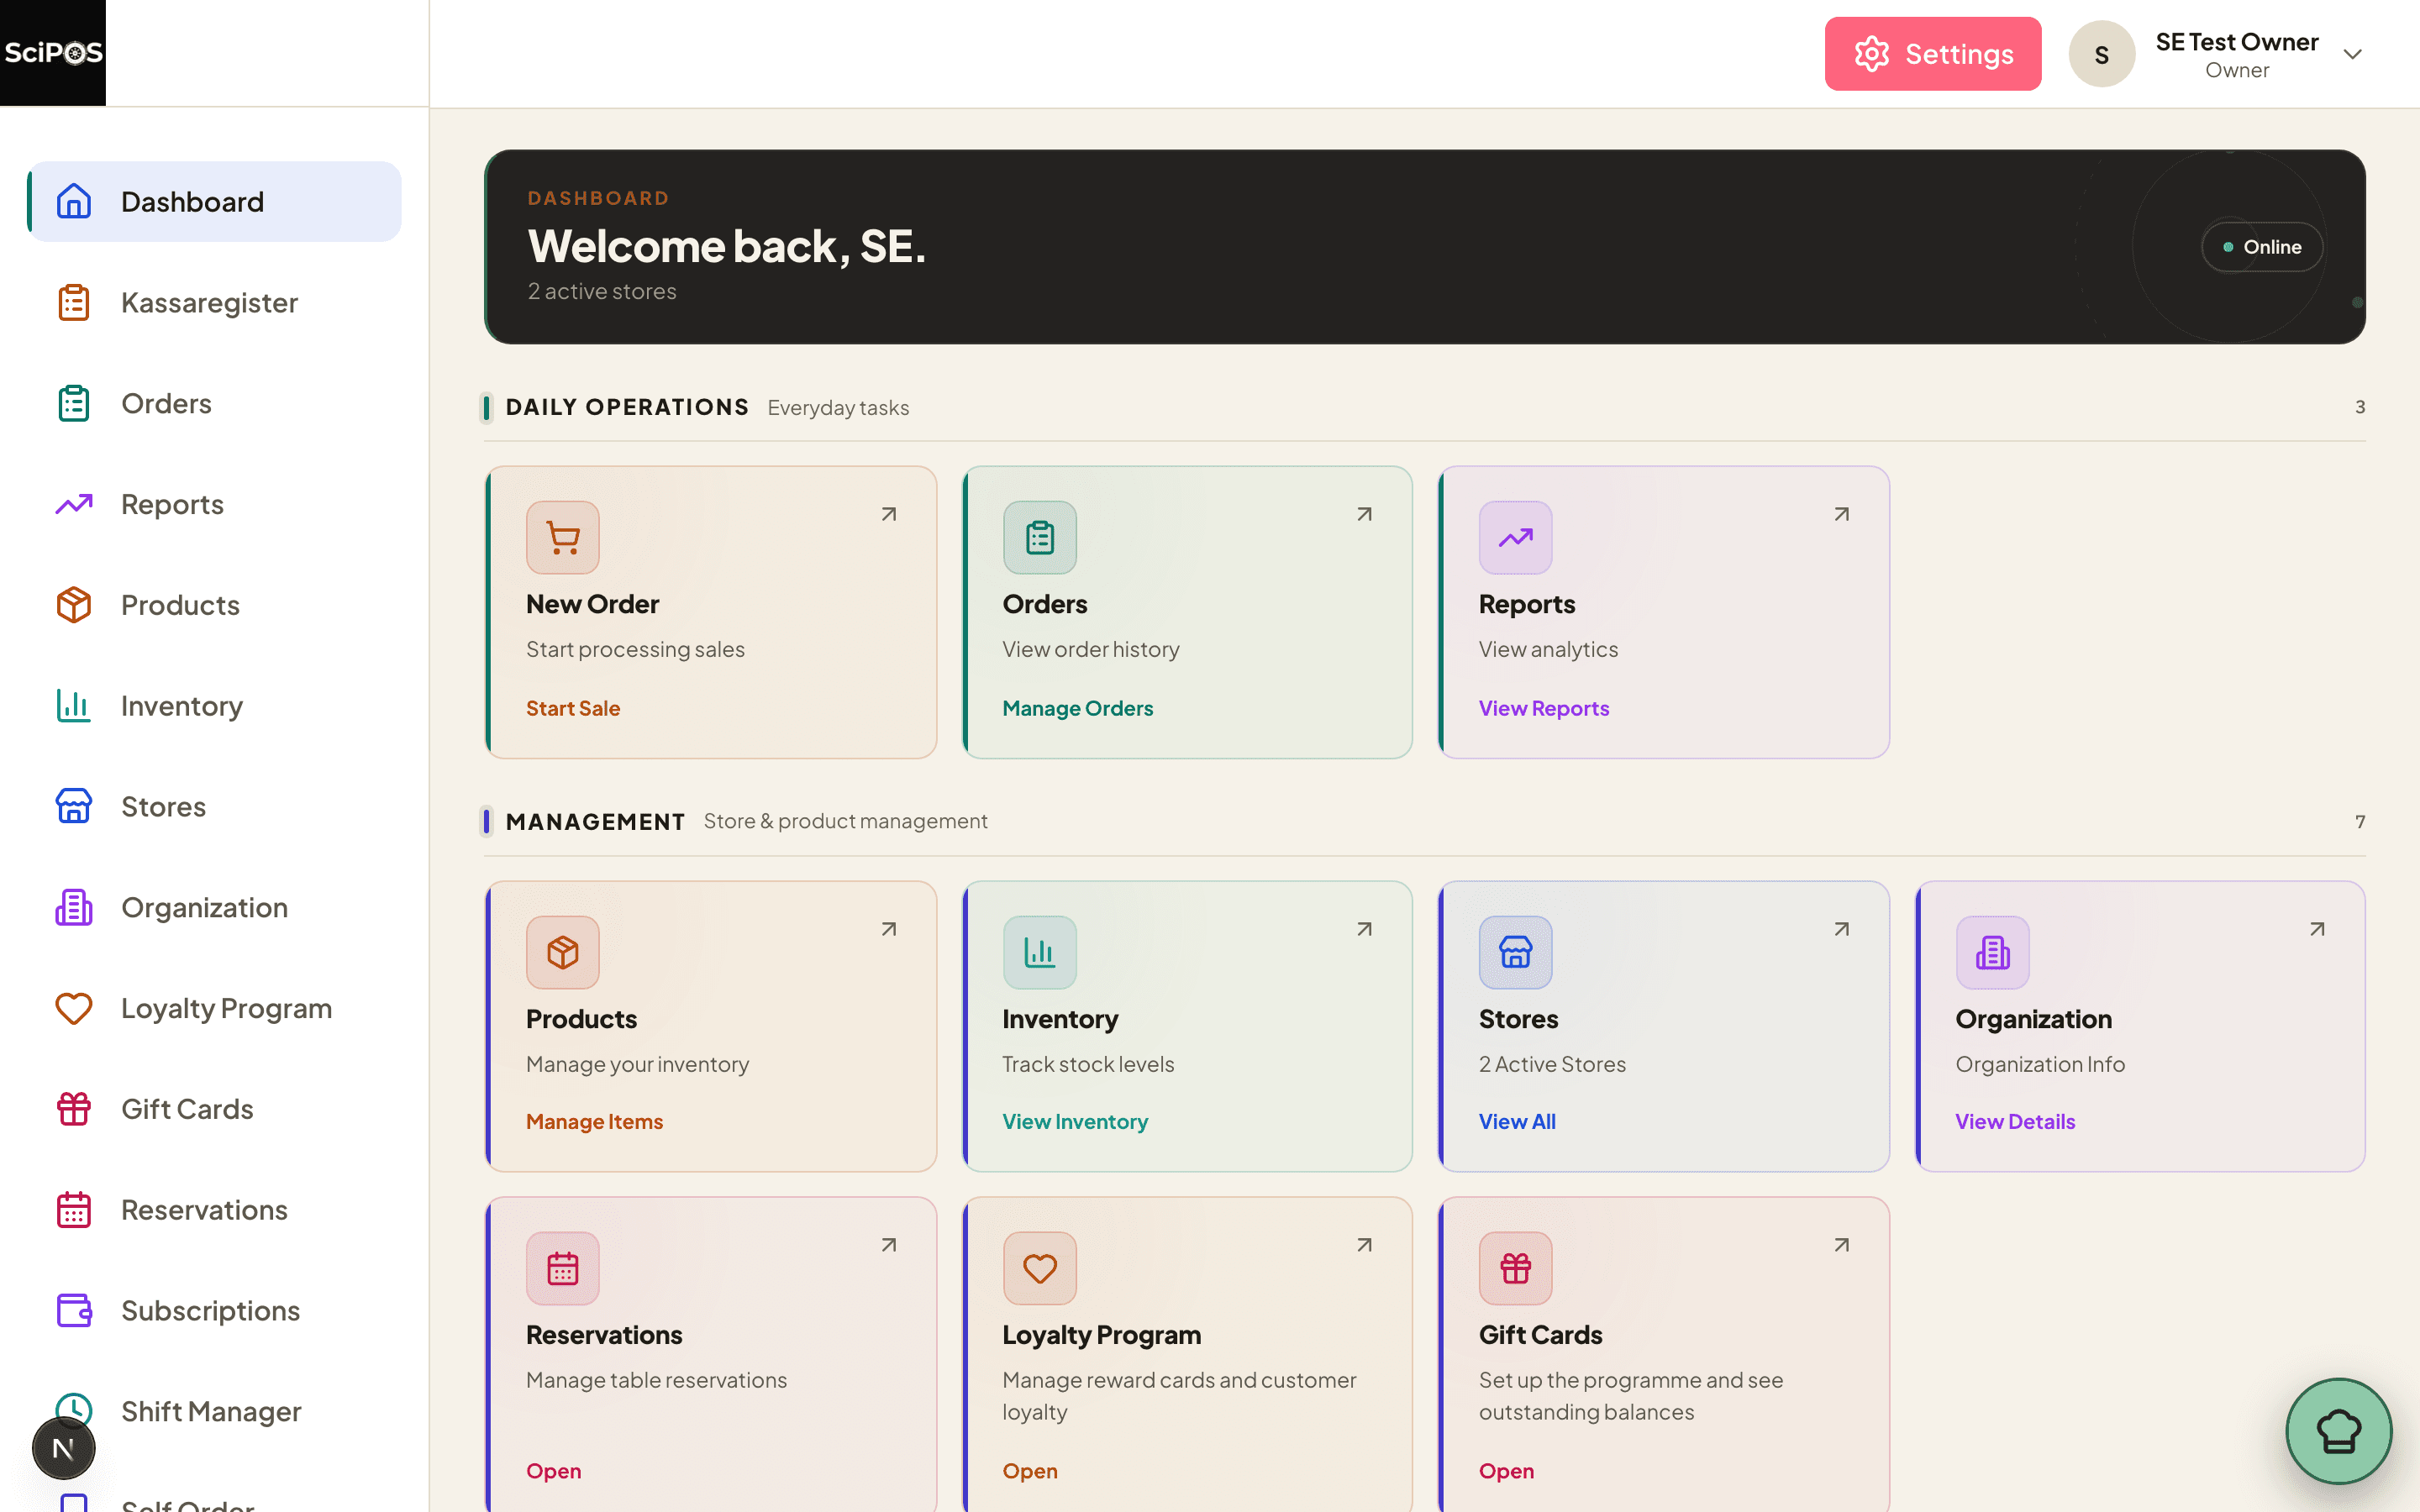
From the Dashboard, select ProductsManage Items.
Before you begin, check the location selector at the top of the screen (Main location). Products and extras are set per location, so make sure the correct restaurant is selected if you run more than one.
Create the extras group
Extras are organised into option groups. A group is a set of related extras — for example a group called "Extra Toppings" containing halloumi, goat cheese, mushroom, and so on. You create the group once and reuse it on every dish that should offer those extras.
Open the Option Groups tab at the top of Products Management.
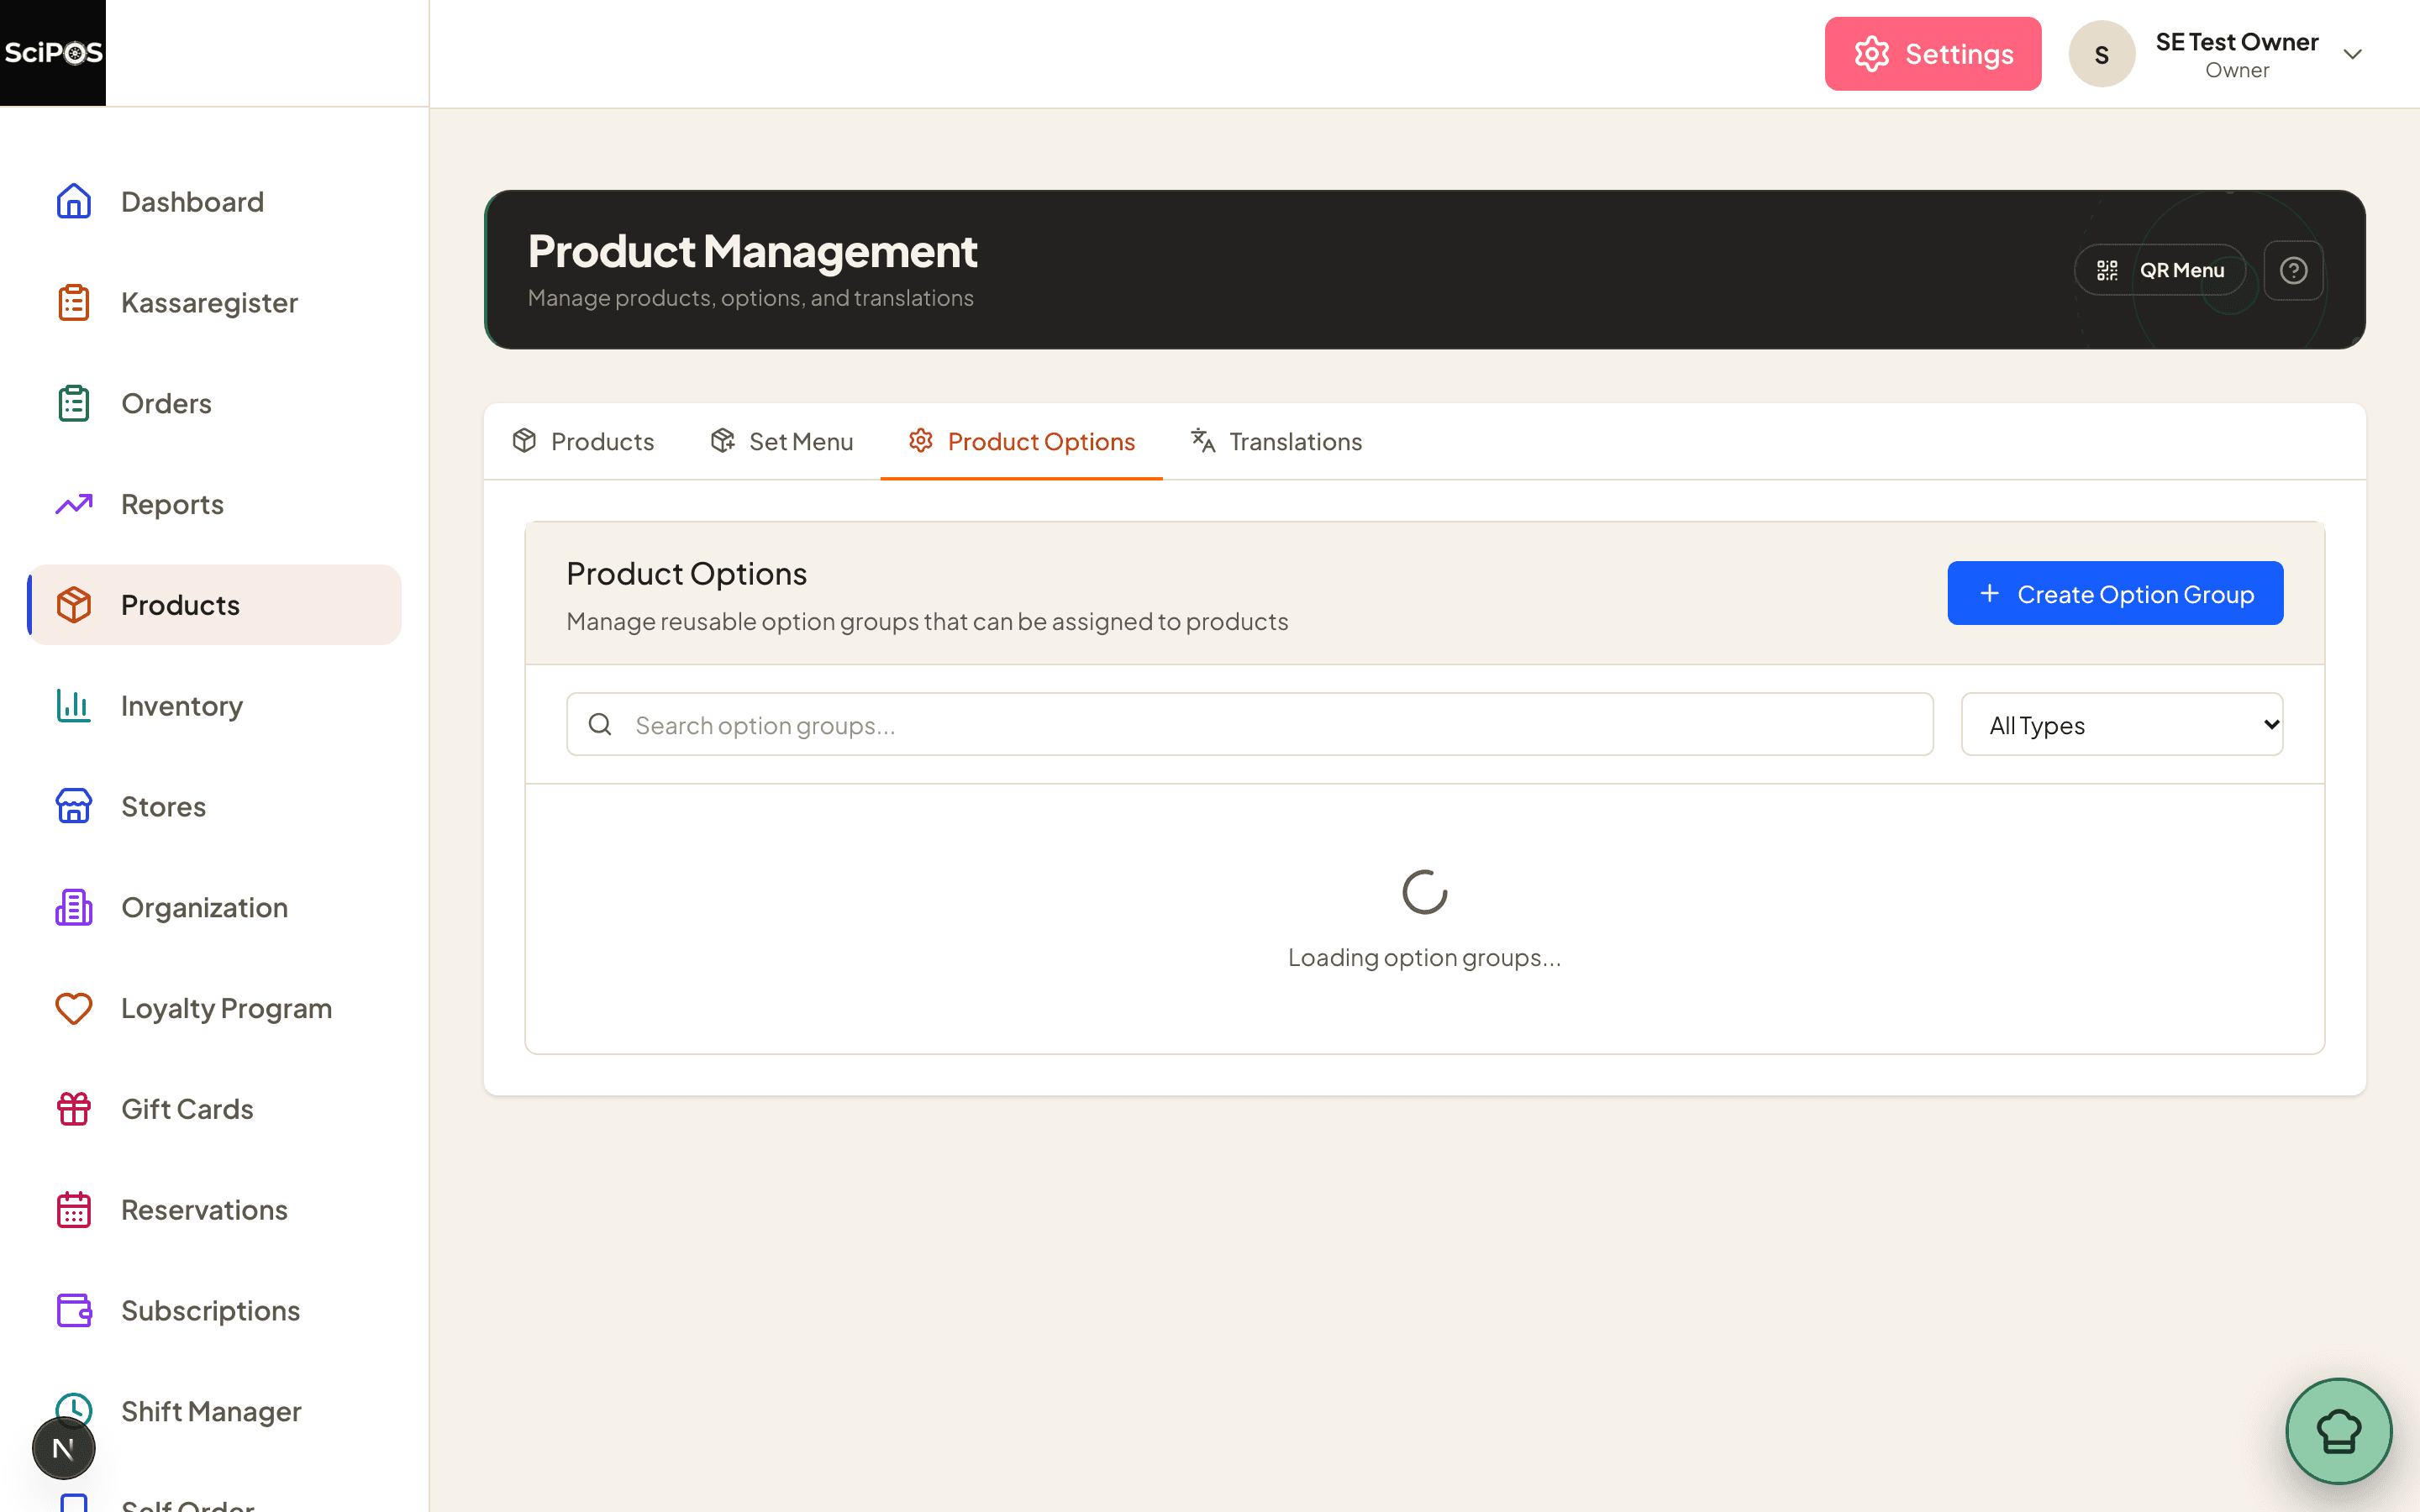
Select + Create New Group and fill in the dialog:
| Field | What to enter |
|---|---|
| Option Name | The name shown above the buttons on the till — for example Extra Toppings. |
| Selection Type | Multiple for extras, so staff can add halloumi and goat cheese to the same dish. Use Single only when exactly one choice applies, such as a cooking temperature. |
| Required | Leave off for extras. Switched on, staff must pick something before the dish can be added to the order — correct for "choose your sauce", wrong for optional toppings. |
| Choices | Select + Add Choice once per extra. Enter the name and the surcharge in the Price field (for example Halloumi / 1.00). Leave the price at 0.00 for a free extra. |
Add Existing lets you pull in an extra you have already created in another group, so a shared item such as halloumi only needs to be priced in one place.
Select Create to save the group.
Attach the group to your dishes
Creating a group does not by itself put it on any dish. Each dish decides which extras it offers, which is why a pizza can offer toppings while a drink does not.
- Open the Products tab and find the dish — use the search box or the Category filter.
- Select the small arrow at the left of the product row to expand it.
- Under Product Options, select + Add Option.
- Pick your group from the list and confirm.
Repeat for every dish that should offer the extras. Because the group is shared, changing a price inside it later updates every dish at once — you do not need to edit them one by one.
Check the extras are visible on the till
Each attached group has its own show/hide switch for the till, shown as the eye icon beside the group inside the product. This exists so a group can be offered on the self-service kiosk or QR menu while staying hidden on the till, or the other way round.
If staff tap a dish and no extras screen appears, this switch is the first thing to check:
- An open eye means the group is live on the till.
- A crossed-out eye — shown together with a Hidden on POS badge — means the till will skip the group entirely.
Select the icon to switch it. The change reaches the till immediately; there is no need to restart the app.
Still not working?
| What you see | Most likely cause |
|---|---|
| No extras screen on one dish | The group is not attached to that dish (Step 3), or it is hidden on the till (Step 4). |
| No extras screen on any dish | The wrong location is selected at the top of Products Management, so you are editing a different restaurant. |
| An extra is missing from the screen | That choice is set to inactive or out of stock. Open the group and check the choice's Status field. |
| A price is wrong on the till | Edit the choice's price inside the group — the correction applies to every dish using it. |
What your staff will see
Once set up, the flow at the till is:
- Staff tap the dish. If it has extras, the extras screen opens by itself.
- Every extra appears as its own button with its own price. On a tablet the whole group fits on one screen, so it is a single tap per extra with no scrolling.
- Extras that can be added more than once have a + / − control, so "2 × halloumi" is two taps.
- Staff confirm, and the dish is added to the order with its extras listed underneath.
Extras can also be changed after the dish is in the order: tapping the line in the order panel reopens the same screen. A mid-order "actually, add goat cheese" does not require deleting and re-ringing the dish.